There's an undeniable magic in a perfectly crafted loaf of homemade garlic bread. But what elevates it from merely good to truly spectacular? It's the glorious pull-apart garlic bread experience. Imagine crusty edges giving way to a soft, pillowy interior, each bite infused with golden garlic-infused butter, ready to be effortlessly torn and savored. Forget the bland, often disappointing frozen varieties; achieving this culinary masterpiece at home is simpler than you think, and the rewards are immeasurable. This comprehensive guide will unlock the secrets to creating the ultimate pull-apart garlic bread, focusing on key bread choices and ingredient handling that make all the difference.
The Foundation: Choosing Your Perfect Loaf for Pull-Apart Garlic Bread
The journey to transcendent garlic bread begins with the bread itself. This isn't a place for flimsy sandwich slices or delicate brioche. For the ideal pull-apart experience – that perfect harmony of crisp exterior and tender, buttery crumb – you need a loaf with character and structural integrity. Think of it as the sturdy canvas for your garlicky masterpiece.
- French Bread: A classic choice, French bread offers a beautiful crust and a soft, airy interior, making it wonderfully receptive to butter and garlic. Its elongated shape is also ideal for creating those distinct pull-apart sections.
- Italian Bread: Similar to French bread, Italian loaves often boast a slightly denser crumb and a robust crust, holding up exceptionally well to the baking process without becoming soggy.
- Ciabatta Bread: Known for its irregular holes and chewy texture, ciabatta provides a rustic charm. Its sturdy nature ensures it can withstand generous amounts of garlic butter while maintaining its satisfying chew.
- Artisan Bread/Baguette: Many homemade or bakery-fresh artisan loaves and baguettes are fantastic candidates. Look for ones with a good, firm crust and a substantial crumb. These often yield the most satisfying textural contrast.
The key takeaway is to select a sturdy, crusty loaf. Soft breads like brioche or standard sandwich bread are simply too delicate; they absorb too much moisture, lack the necessary structure, and won't give you that coveted pull-apart effect. Whether you opt for a bakery-fresh find or even your own homemade artisan creation, starting with the right bread sets the stage for success. Once you have your chosen loaf, grab a serrated bread knife – it’s essential for cleanly slicing your bread without squishing it, preparing it for the pull-apart magic.
Crafting the Golden Garlic Butter: A Symphony of Flavor
While the bread provides the structure, the garlic butter is the heart and soul of any exceptional homemade garlic bread. This isn't just about mixing raw garlic into butter; it's about developing layers of flavor that will truly sing. Here's how to master it:
The Essential Ingredients: Quality Matters
You only need a few simple ingredients, but their quality is paramount:
- Unsalted Butter: Good quality butter is non-negotiable. Opt for unsalted so you can control the seasoning precisely. While some recipes call for softened butter, our preferred technique involves melting to infuse the garlic.
- Fresh Garlic: This is where the magic happens. Use fresh garlic cloves, minced finely. Forget the jarred stuff; fresh garlic delivers a pungent, vibrant flavor that canned alternatives simply can't match. Aim for about 3-4 regular-sized cloves, minced to yield roughly 4 teaspoons.
- Fresh Parsley: For a burst of freshness and visual appeal, fresh parsley (either flat-leaf or curly) is essential. Mince it finely and stir it into your butter mixture.
- Parmesan Cheese (Optional, but Recommended): For an extra layer of savory depth, freshly grated Parmesan cheese is a game-changer. Grate it off the block yourself; pre-packaged shredded cheese often contains anti-caking agents that can affect texture and flavor. If you prefer to omit cheese, the garlic bread will still be delicious.
- Salt: A pinch of flaky sea salt elevates all the other flavors. Regular table salt works too, but sea salt adds a delightful textural contrast.
The Golden Garlic Butter Technique
The secret to incredibly fragrant and flavorful garlic butter lies in a simple cooking step:
- Melt and Infuse: In a small skillet, gently melt your butter over medium heat. Once melted, add your minced fresh garlic.
- Cook to Fragrance: Cook the garlic, stirring occasionally, for about 3 minutes. Watch it closely; you want the butter to turn a beautiful golden hue and the garlic to become wonderfully fragrant, releasing its sweet, nutty essence without burning. This brief cooking process mellows the garlic's raw bite and deepens its flavor, resulting in a richer, more complex taste profile compared to just mixing raw garlic into softened butter.
- Combine with Herbs and Cheese: Remove the skillet from the heat. Stir in your fresh minced parsley, freshly grated Parmesan (if using), and a pinch of salt. The residual heat will help everything combine beautifully. Ensure all the garlic bits are evenly distributed throughout the butter.
This cooked garlic butter is far superior to a cold butter spread. It imparts a warmth and depth of flavor that is truly unparalleled, making your homemade garlic bread unforgettable.
The Art of the Pull-Apart: Scoring for Success
The "pull-apart" aspect isn't just a gimmick; it's a brilliant technique that enhances both the eating experience and the flavor saturation of your garlic bread. By creating individual slices that remain connected at the base, you achieve maximum surface area for butter distribution and ensure every piece is perfectly crisp on the outside and soft within.
Step-by-Step Scoring for Perfect Pull-Apart Garlic Bread:
- Slice the Loaf Lengthwise: Using your serrated bread knife, carefully slice your chosen loaf (French, Italian, Ciabatta, or Artisan) in half lengthwise. You'll have two long halves, each with a cut side and a crust side. Lay these cut-side up on a rimmed baking sheet lined with parchment paper for easier cleanup.
- Brush the Crust: This is a crucial, often overlooked step. Liberally brush the outer crust of each loaf half with some of your golden garlic butter. This infuses the crust with flavor and helps it achieve a magnificent crispness during baking.
- Score for Pull-Apart Sections: Now, turn the bread cut-side up again. Take your serrated knife and make crosswise slices along each loaf at approximately 2-inch intervals. The critical part here is not to cut all the way through to the bottom crust. Leave about half an inch to an inch of the bottom intact. This creates the individual "pull-apart" pieces while keeping the loaf together.
- Liberally Brush the Cut Sides: With your bread now scored, you have significantly more surface area exposed. This is your opportunity to brush generously. Use the remaining garlic butter and spread it liberally over all the cut surfaces and crevices. Ensure every nook and cranny is coated. Don't forget to spread any remaining garlic bits evenly over the top for maximum flavor. You should aim to use all the garlic butter you've prepared; there's no such thing as too much when it comes to garlic bread!
This methodical approach ensures that every single piece of your garlic bread receives ample flavor, guaranteeing a delicious, buttery, and garlicky bite every time it's pulled from the loaf.
Baking to Golden Perfection & Finishing Touches
With your glorious pull-apart garlic bread prepped and gleaming with garlic butter, it's time to transform it in the oven. The goal is a deep golden brown crust, softened interior, and an intoxicating aroma that fills your kitchen.
The Baking Process:
- Preheat Your Oven: Arrange an oven rack in the center position and preheat your oven to a robust 450 degrees F (232 degrees C). The high temperature is essential for achieving that desirable crisp exterior quickly.
- Bake Until Golden: Carefully transfer your baking sheet with the prepared bread into the preheated oven. Bake for approximately 10 to 15 minutes. Keep a close eye on it, especially towards the end. You're looking for the edges of the bread to turn a deep golden brown, and the garlic butter to be bubbling and fragrant. The higher heat helps to toast the butter-soaked surfaces without drying out the interior.
Finishing Touches and Serving:
- Optional Parmesan Sprinkle: If you didn't mix Parmesan into your garlic butter, or if you simply want an extra cheesy crunch, you can sprinkle additional freshly grated Parmesan over the loaves during the last 2-3 minutes of baking.
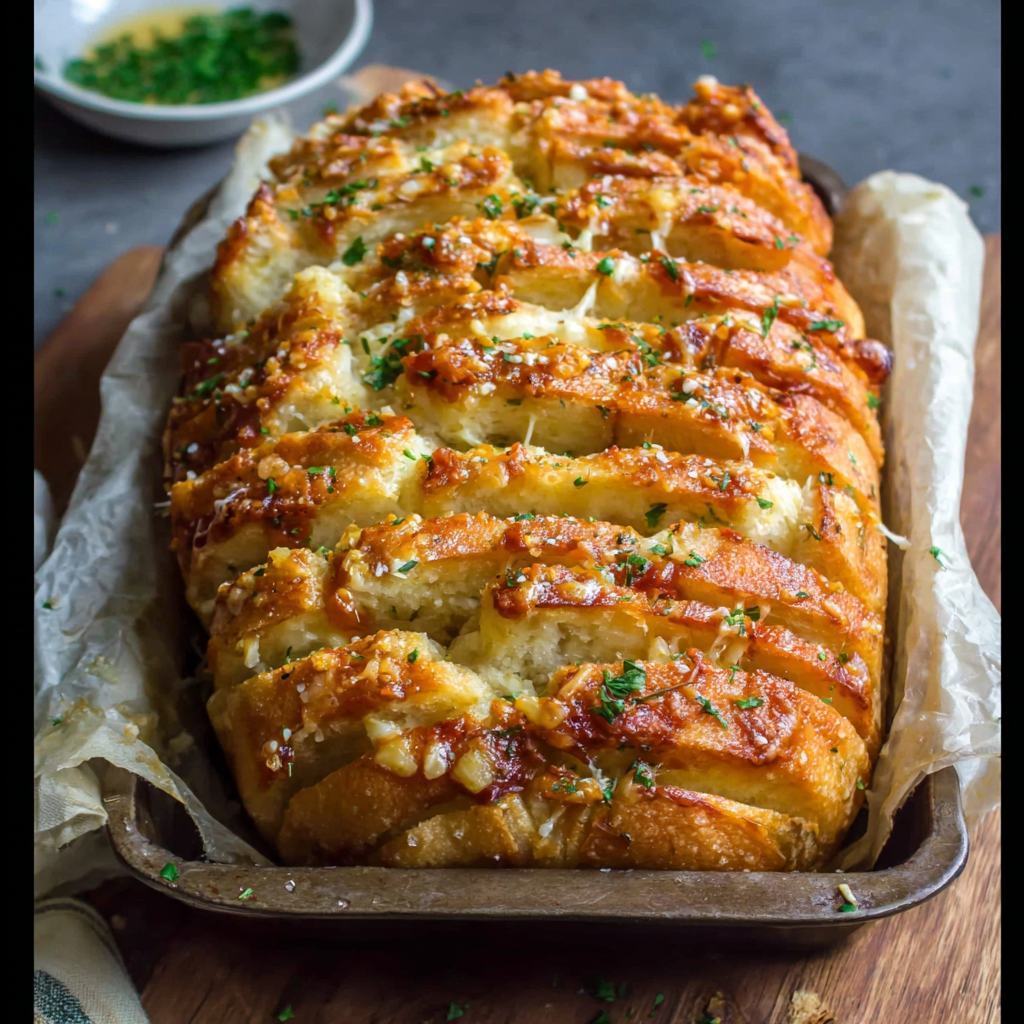
- Fresh Parsley Garnish: Once the garlic bread comes out of the oven, immediately sprinkle it with more fresh minced parsley. The heat will slightly warm the parsley, releasing its aroma and adding a vibrant green contrast to the golden bread.
- Serve Warm: Garlic bread is best served piping hot, straight from the oven. The textures are at their peak – crisp exterior, soft interior, and molten garlic butter.
This perfect pull-apart garlic bread is incredibly versatile. It makes a fantastic accompaniment to a hearty red-sauce pasta dish, a comforting bowl of soup, or even as a light meal when paired with a crisp green salad. And for those moments when you crave it but don't have time to make it from scratch, remember that homemade garlic bread is often freezer-friendly! Simply prepare the loaves up to the point of baking, wrap them tightly, and freeze. When ready to enjoy, bake from frozen, adding a few extra minutes to the baking time.
Say goodbye to disappointing packaged frozen garlic bread. Once you experience the ease, aroma, and unparalleled flavor of homemade pull-apart garlic bread, there truly is no turning back. By focusing on quality ingredients, developing the garlic butter flavor, and mastering the simple scoring technique, you’ll consistently achieve a side dish that's a showstopper in its own right. So go ahead, gather your ingredients, and prepare to delight your taste buds with this classic, comforting, and utterly delicious creation. Happy baking!
